Deploying your FastAPI application to the cloud is a great way to make it accessible to users worldwide. Heroku simplifies this process, allowing you to focus on building your app rather than managing infrastructure. In this tutorial, we’ll walk through the process of deploying a FastAPI application to Heroku.
Prerequisites
Before we begin, ensure you have the following installed on your local machine:
- Git: Version control system.
- Heroku CLI: Command-line interface for interacting with Heroku.
Step-by-Step Guide to Deploying a FastAPI App on Heroku
- Prepare Your FastAPI Application
Make sure your FastAPI application includes the necessary configuration files. Here’s what you need:
Procfile: This file tells Heroku how to run your application. For a FastAPI app, it might look like this:
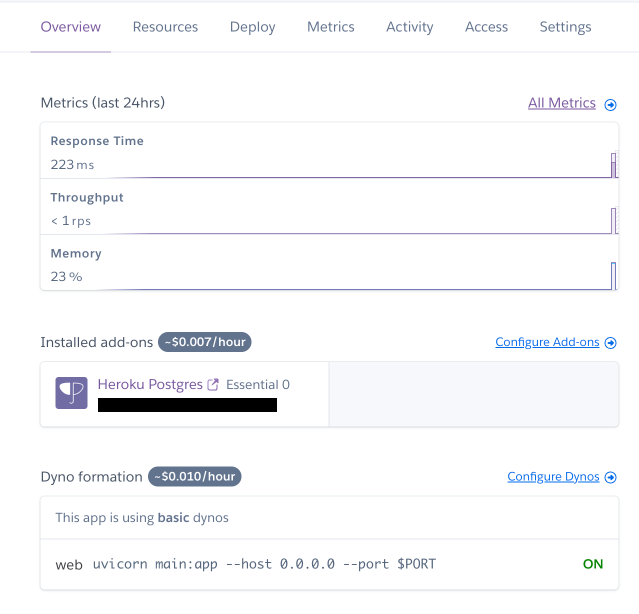
web: uvicorn main:app --host 0.0.0.0 --port ${PORT:-5000}Replace main:app with the appropriate entry point for your application.
requirements.txt: This file lists all the dependencies for your project. You can create this file by running:
pip freeze > requirements.txtruntime.txt(optional): Specifies the Python version you want to use. For example:
python-3.8.10- Create a Heroku App
- Login to Heroku:
heroku loginThis command opens a web browser for authentication. Enter your Heroku credentials to log in.
- Create a New Heroku App:
heroku create your-app-nameReplace your-app-name with your desired application name. If you don’t specify a name, Heroku will generate one for you.
- Deploy Your Application
- Initialize a Git Repository (if you haven’t already):
   git init
   git add .
git commit -m "Initial commit"- Set the Heroku Remote:
heroku git:remote -a your-app-name- Deploy to Heroku:
git push heroku master- Scale Your Application
To ensure your application is running, you need to scale your app’s web dynos:
heroku ps:scale web=1- Open Your Application
Open your app in the web browser:
heroku openExample: Deploying a FastAPI App
Let’s walk through deploying a simple FastAPI application. Here’s the project structure:
my-fastapi-app/
├── main.py
├── requirements.txt
└── Procfile- main.py:
  from fastapi import FastAPI

  app = FastAPI()

  @app.get("/")
  async def root():
return {"message": "Hello, Heroku!"}- requirements.txt (generated by
pip freeze):
  fastapi==0.68.0
uvicorn==0.15.0- Procfile:
web: uvicorn main:app --host 0.0.0.0 --port ${PORT:-5000}By following the deployment steps outlined above, you can get this simple FastAPI app running on Heroku in no time.
Additional Tips
- Environment Variables: Store sensitive information like API keys securely in Heroku’s environment variables:
heroku config:set KEY=VALUE- View Logs: Check your application logs for debugging:
heroku logs --tail- Database: If your application requires a database, you can add one using Heroku Add-ons. For example, to add PostgreSQL:
heroku addons:create heroku-postgresql:hobby-devConclusion
Deploying a FastAPI application to Heroku is a straightforward process that involves preparing your application, creating a Heroku app, and deploying via Git. With these steps, you can easily get your FastAPI application up and running on Heroku, ready to be accessed from anywhere.