When I started working on my final project for my master’s degree, I quickly realised that managing my code and keeping track of different versions was becoming overwhelming. That’s when I discovered Git
Here’s a simple guide to get started with Git on a Mac.
1. Getting Git Set Up on macOS
First, you need to install Git on your Mac. If you don’t already have Homebrew, you’ll need to install it first.
Install Homebrew: Open Terminal and run the following command to install Homebrew:
/bin/bash -c "$(curl -fsSL https://raw.githubusercontent.com/Homebrew/install/HEAD/install.sh)"Install Git with Homebrew: Once Homebrew is installed, you can install Git by running:
brew install git2. Setting Up Git with Your Info
Once Git is installed, you need to tell it who you are. This helps label your changes.
git config --global user.name "Your Name"
git config --global user.email "youremail@example.com"
To double-check your setup, run:
git config --list3. Starting a New Project with Gi
A repository (or “repo”) is where Git stores your project’s files and history.
- Starting Fresh:
Go to your project folder and run:
git initThis sets up a new Git repo.
- Cloning an Existing Project:
If you’re working on something that’s already on GitHub (or another Git server), clone it:
git clone https://github.com/username/repository.git4. The Basic Workflow
Git’s main job is to help you track changes. Here’s how you do that:
- See What’s Going On:
To see the status of your files:
git status- Stage Your Changes:
Before saving changes, you need to stage them. For a specific file:
git add filenameOr to add everything:
git add .- Save Your Changes (Commit):
Now, save your staged changes with a short message describing what you did:
git commit -m "Your commit message"5. Working with Branches
Branches let you experiment without messing up the main project.
- Create a Branch:
git branch new-branch-name- Switch to That Branch:
git checkout new-branch-nameYou can also create and switch in one go:
git checkout -b new-branch-name- Merge Branches:
Want to merge your changes back into the main branch? First, switch tomain:
git checkout mainThen merge your other branch:
git merge new-branch-name6. Syncing with Remote Repositories
Remote repos are where your code lives online, like on GitHub.
- Push Your Changes Online:
Send your commits to a remote repo:
git push origin branch-name- Pull in Remote Changes:
Get and merge the latest changes from the remote repo:
git pull origin branch-name7. Checking Out Your Commit History
Want to see what’s happened in your project? Look at the commit history:
git logYou can use options like --oneline for a simpler view.
8. Handling Conflicts
Sometimes, Git can’t automatically merge changes. When this happens, it marks the conflict areas in your files, and you’ll need to resolve them yourself. Once you’ve fixed it, commit the resolved files.
9. Undoing Mistake
Oops, made a mistake? No worries.
- Unstage a File:
Remove a file from the staging area:
git reset filename- Throw Away Local Changes:
Discard changes you’ve made locally:
git checkout -- filename- Undo a Commit:
Keep the changes, but undo the commit:
git revert commit-hashOr, completely undo the commit and its changes:
git reset --hard commit-hash10. Need Help?
Git has great documentation. If you’re stuck, type:
git help commandOr check out the official Git docs.
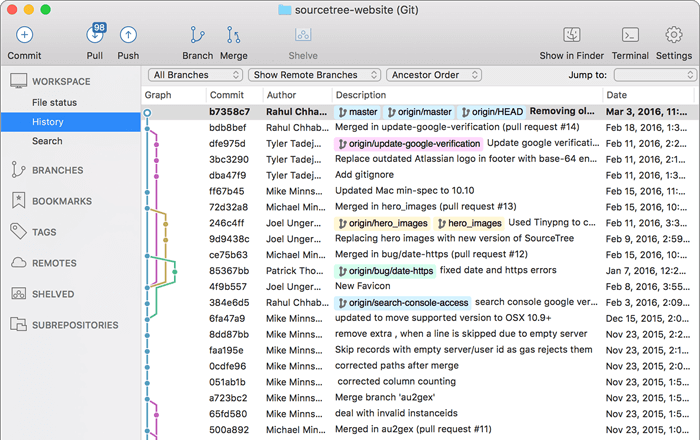
11. Installing Sourcetree for Visual Git Management
To manage your Git repositories visually, you can install Sourcetree, a free Git client with an intuitive interface.
Install Sourcetree with Homebrew: Open Terminal and run the following command to install Sourcetree:
brew install --cask sourcetree